Raising the Steel: Taking Precise Measurements
To be sure there was no possibility of puncturing the PEX tubing underneath we took precise measurements, and then brackets for the columns were bolted into the concrete floor. These brackets determined the alignment of the entire structure.
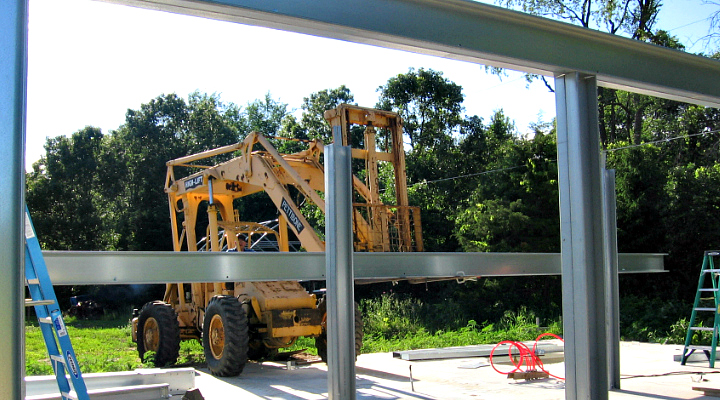
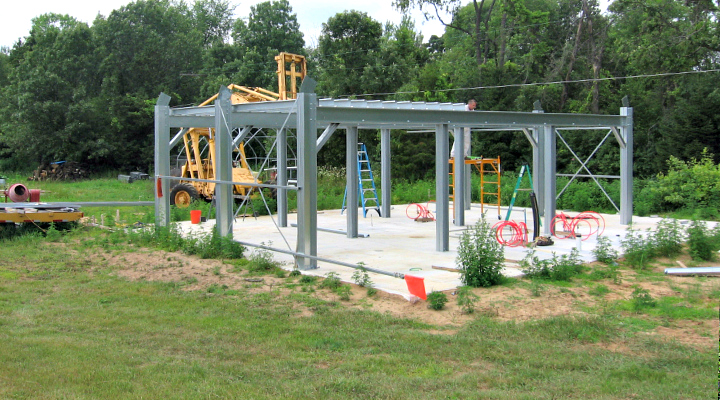
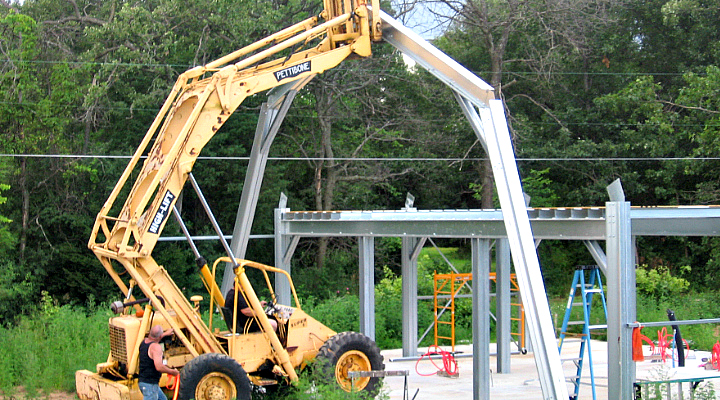
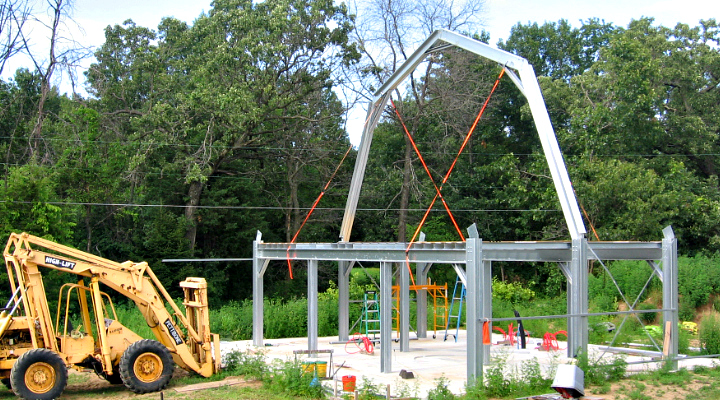
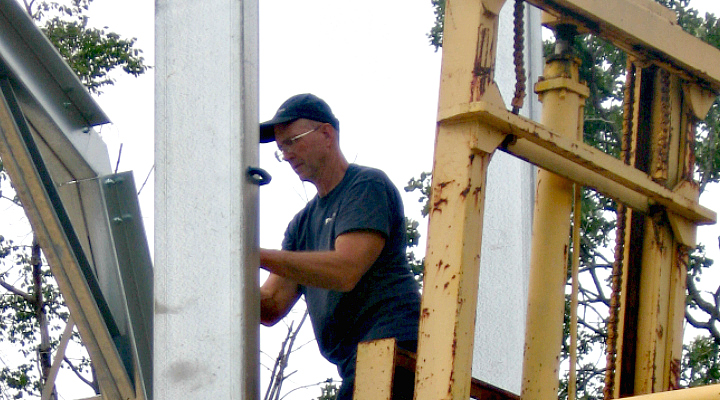
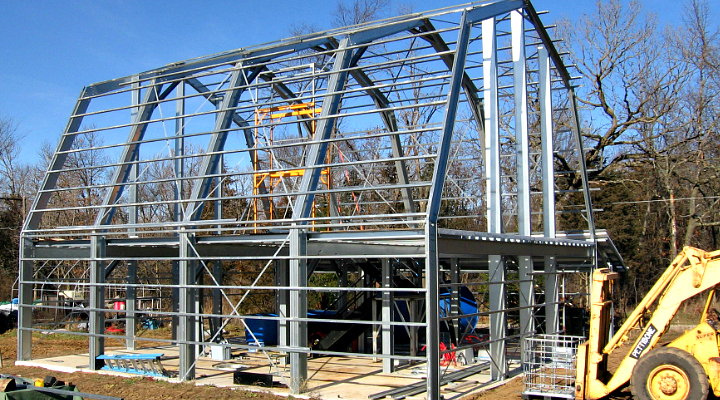
We raised the inner framework (interior columns, girders, and bracing) first, while there were still no outer columns in the way. The high-lift tractor would then have more room to maneuver as we were hoisting the inner components into position.
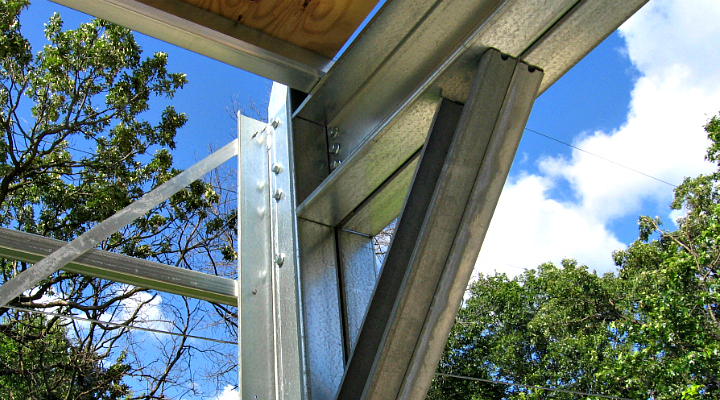
Temporary girts, angled steel braces, steel X-bracing across the column bays, and floor joists secured overhead were added to keep everything plumb and square. This provided a solid framework upon which to set the roof trusses.
Raising the Steel: Installing the Roof Trusses
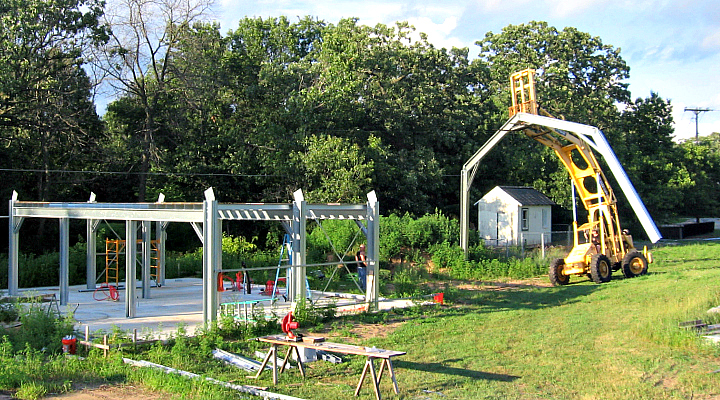
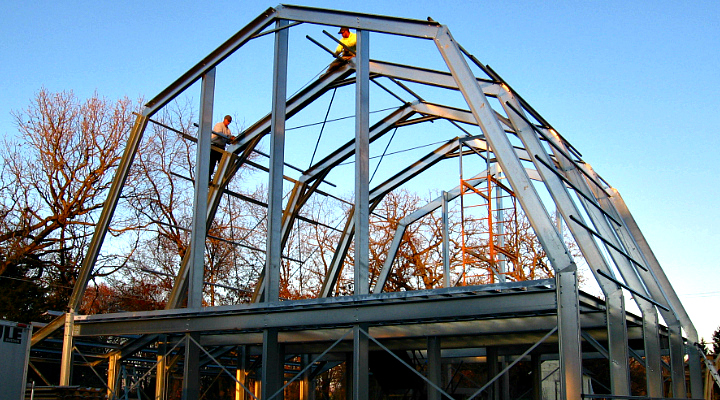
We assembled the roof trusses on the ground nearby and placed them on top of the inner framework. Tie-downs were used to hold the trusses in place until permanent steel girts could be installed.
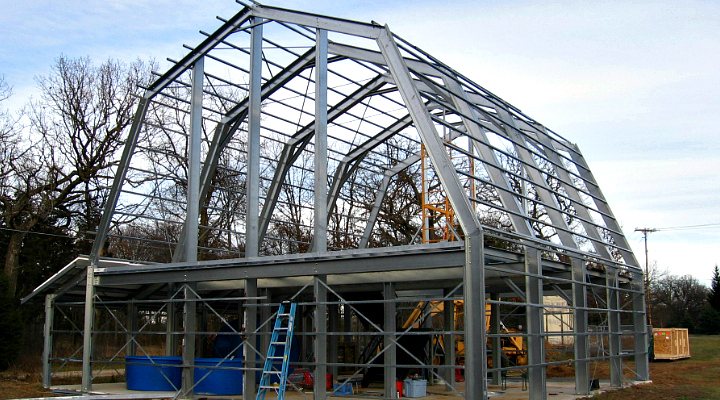
We worked our way outward, added more columns, girders and trusses. Installing more floor joists connected them to the inner floor system. End wall columns completed the first level.
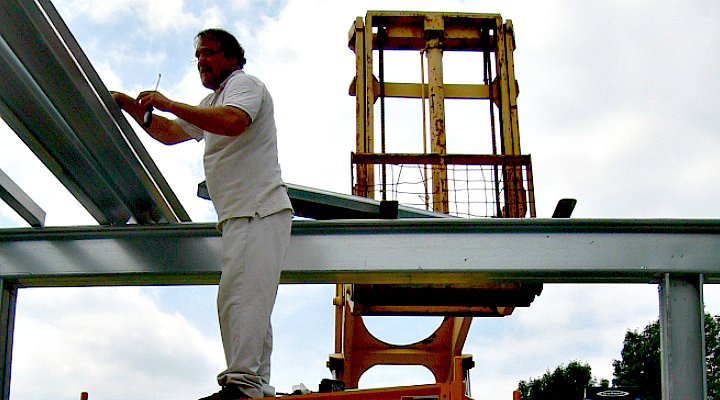
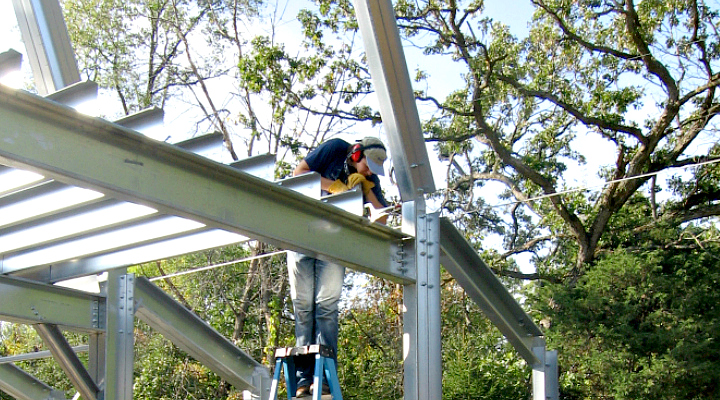
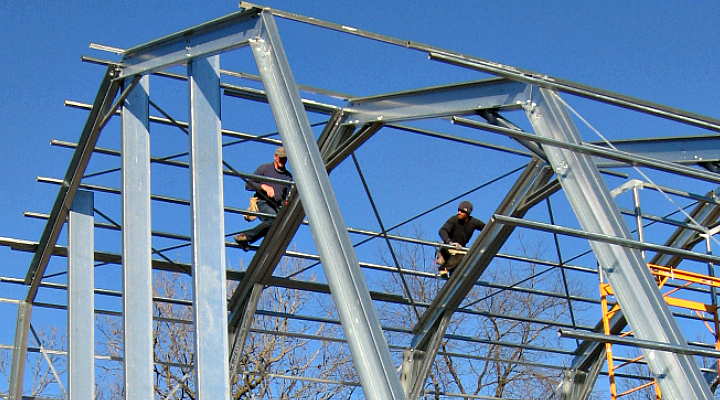
With the end wall columns in place, we could permanently secure the roof trusses. The end trusses were connected to the end wall columns, and then all the roof trusses were tied together with purlins.
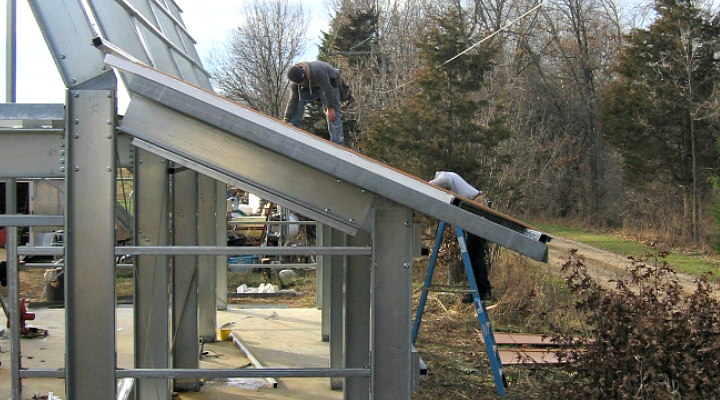
The lean-to roof system could now be assembled and attached to the main framework. This part of the structure would provide a nice overhang to add some protection to the entry door and sidewalk on the north side.
With the entire building framework in place, it was time to check and tighten up every component. Then all the pieces of the puzzle were reinforced with additional bracing and extra bolts of all kinds. Continue with the Greenhouse Project.
